As a long-time fan of putting cool-looking minis on cool-looking terrain, I keep my eye out for any opportunity to spruce up the battlefield. Let’s look at some terrain I recently put together, with special thanks to TTCombat for generously providing the kits for this review.
If a little terrain goes a long way, then how far can you go on a budget? Pretty far if you look at MDF terrain, and this here is some pretty dang good MDF. But if you’re brand new to MDF terrain, then what exactly are we looking at here? How well does it work in an actual game, and how well does it take to being painted?
Medium Density Fiberboard
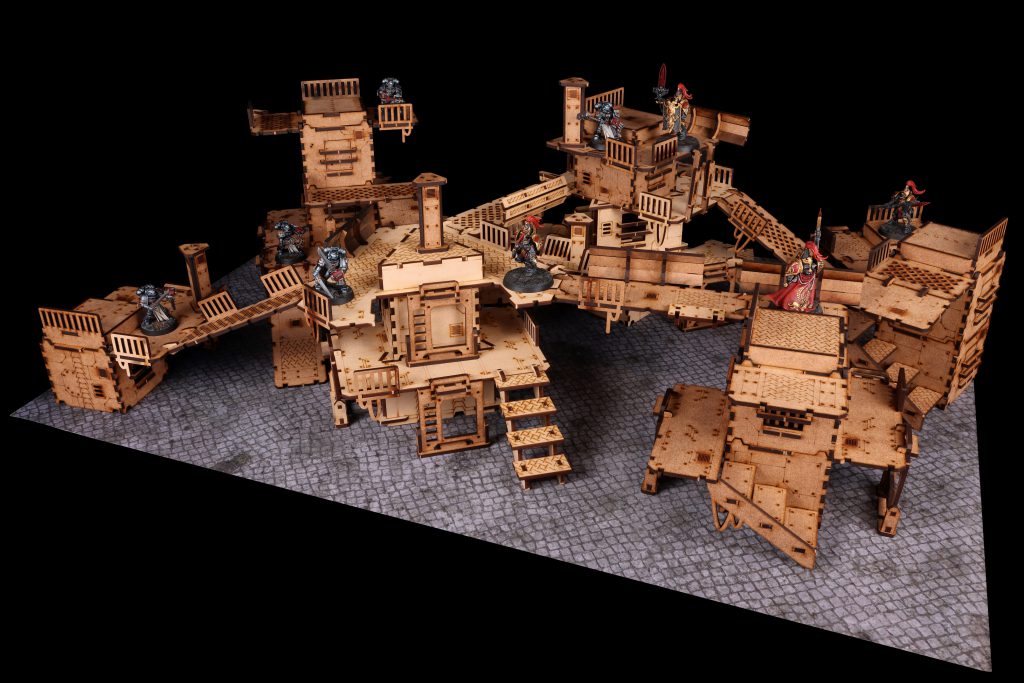
TTCombat’s terrain is made with laser-cut MDF, or Medium Density Fiberboard. If you’re unfamiliar with MDF, then imagine a slurry of wood pulp press fitted into sheets. It’s basically “what if papier-mache, but wood.” The benefit of it as a material is that it’s quite inexpensive while still being fairly durable. For manufacturing terrain, you can take thin sheets of MDF, run it through a laser cutter to cut out the jigsaw puzzle-like pieces on each sheet, and that’s it – you have a sprue ready to go. It packs flat, ships well, and let’s be honest, if you’re reading Goonhammer then you’re a fan of building things, so having to assemble the terrain yourself is only a plus.
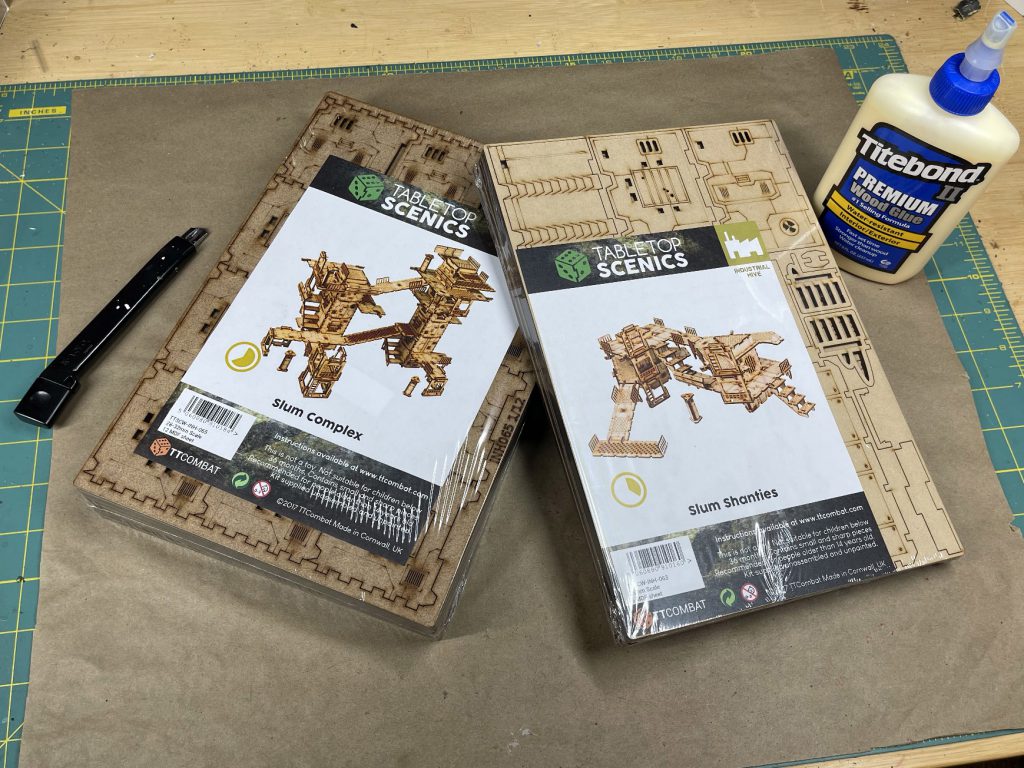
Another thing that’s great about MDF terrain is you are able to cover a surprisingly large amount of the battlefield with it. The entire Kill Team board I set up at the top of this article was from these two terrain kits: TTCombat’s Industrial Hive – Slum Complex and Slum Shanties. The instructions for building them are on their website, and are quite easy to follow.
This is What Peak Sprue Cutter Looks Like
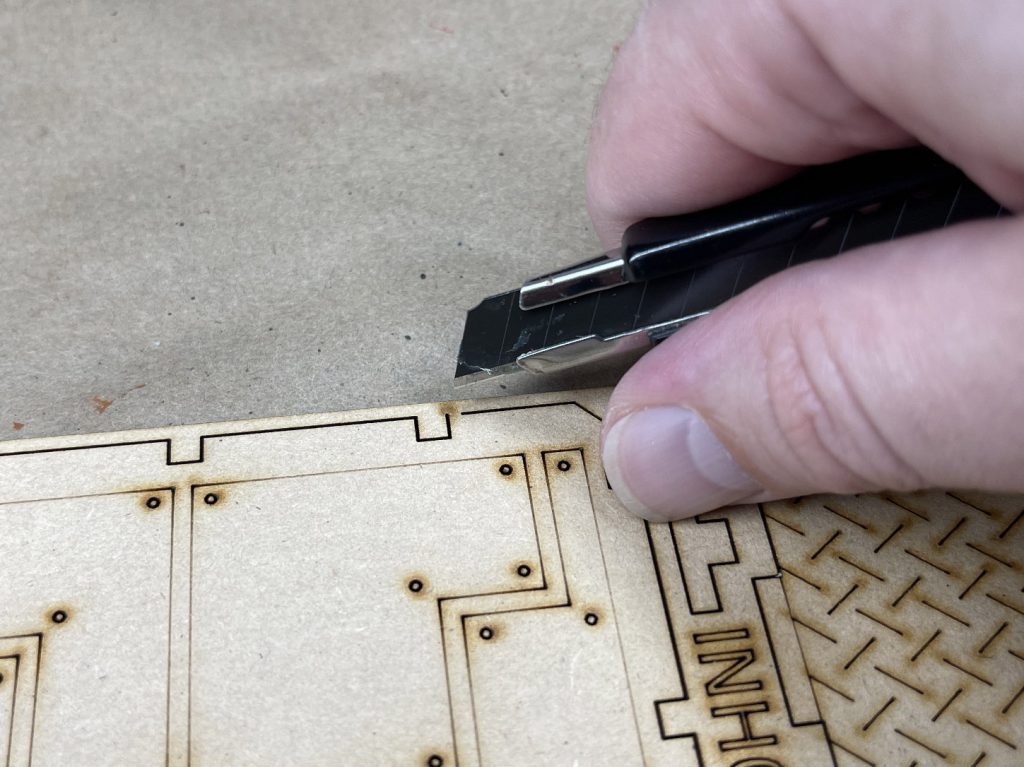
In order to keep the pieces from falling off the sprue in transit, the laser cutter will leave these little bridges holding them to the frame. If you’ve ever assembled a plastic miniature before, you’ll know precisely what these are.
Dealing with them is pretty easy. Get a high quality razor and a durable cutting mat, then lay the MDF sheet evenly on the mat, place the razor on the bridge, and press straight down until it “pops” through. If you want to go the extra mile, you can file down the sprue line with the razor.
A downside to working with MDF is that your blade will go dull in minutes as, by some stretch of the imagination, you are using it to chop wood. You’ll want to replace the blade periodically, as the duller it gets the harder and more dangerous this will become. But if you’re careful, you can get a lot of life out of a blade. I used a snap-away razor blade, breaking pieces of it off as they went dull, and I only went through a single blade when building both of these kits.
Ashes to Ashes, Wood to Glue
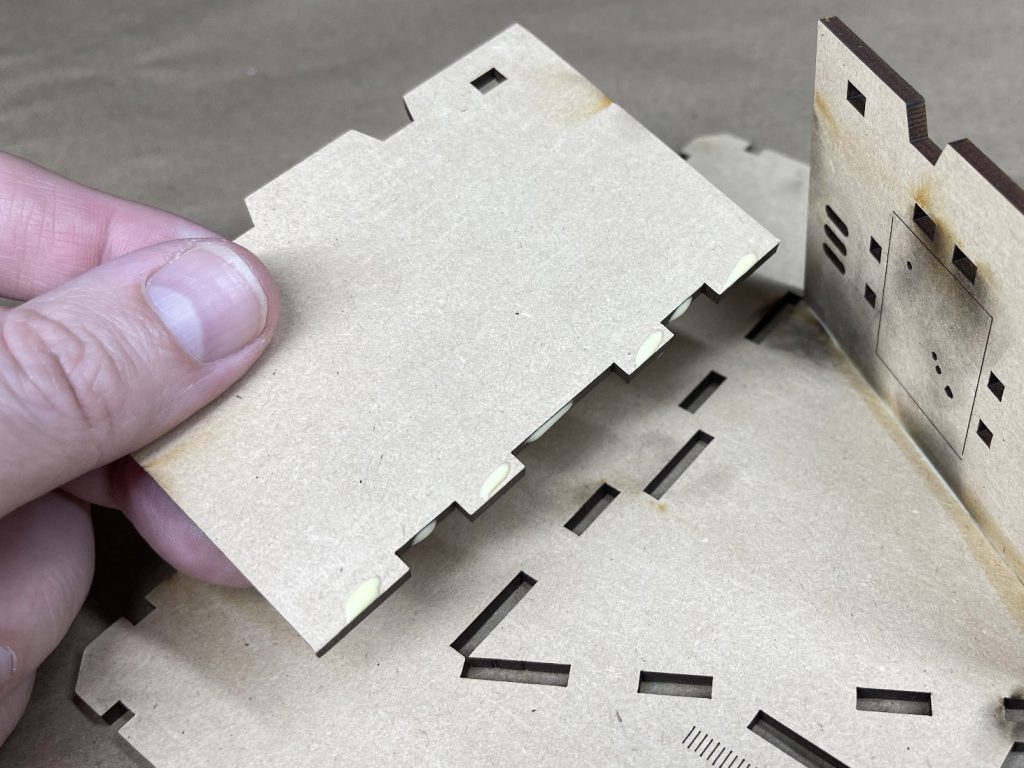
After you cut out a piece, it’s a simple matter of putting a bit of wood glue on, and following the directions.
And hey, at this point I think you and I have built up a little rapport. So I’m going to let you know my secret sauce for working with MDF: Get a disposable cup, fill it halfway with water, and toss an old junky brush in it that’s 1/4″ to 1/2″ wide. Immediately after you glue two pieces together, wood glue will ooze out everywhere. Take that wet brush and summon your inner Bob Ross: beat the devil out of it against the inside of a trash can to wick off as much water as possible, and then use it to scoop up and smooth out that extra wood glue. When things look better, swirly the brush around in the water to clean it off and let it soak there. Then move on to the next piece – literally rinse and repeat.
Raise the Roof: Raise it to About 3″
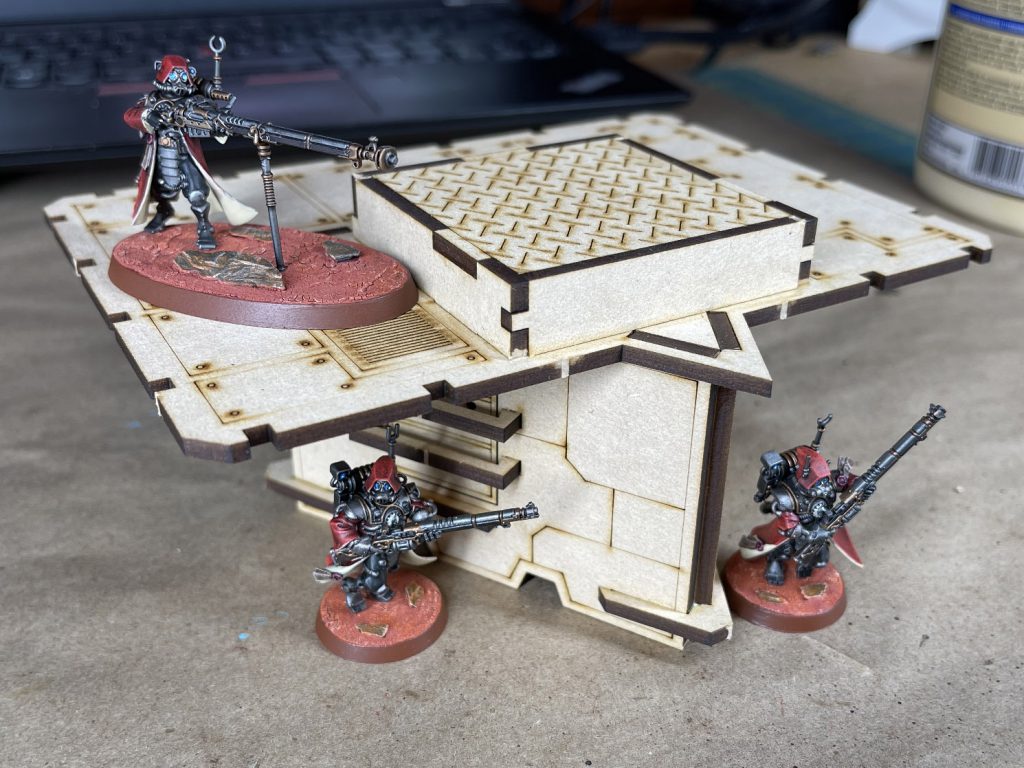
I didn’t time it, but if I were to guess then I took this photo maybe 15-20 minutes after opening the package. Super quick assembly, and it’s already pretty decent line-of-sight blocking terrain for skirmish-scale games like Necromunda or Kill Team.
Something I need to call out here is that these terrain kits are incredibly modular and customizable. These kits also come with a lot of fiddly bits. Railing, stairs, bridges, connectors, doorways. Tons of stuff. You can arrange all of these however you want, and there are grooves and slots all over the buildings for them to lock into. This is great for customisation, but ironically it’s all these cool little fiddly bits that gave me an issue, but I’ll get back to that later.
That sole building above is only a small portion of what comes in those two kits. Why if you were to build it all and put it on a single board, you’d have a veritable hive city on your hands …
What this here? A Kill Team battle report right in the middle of a terrain review?
Skirmish in the Hive City
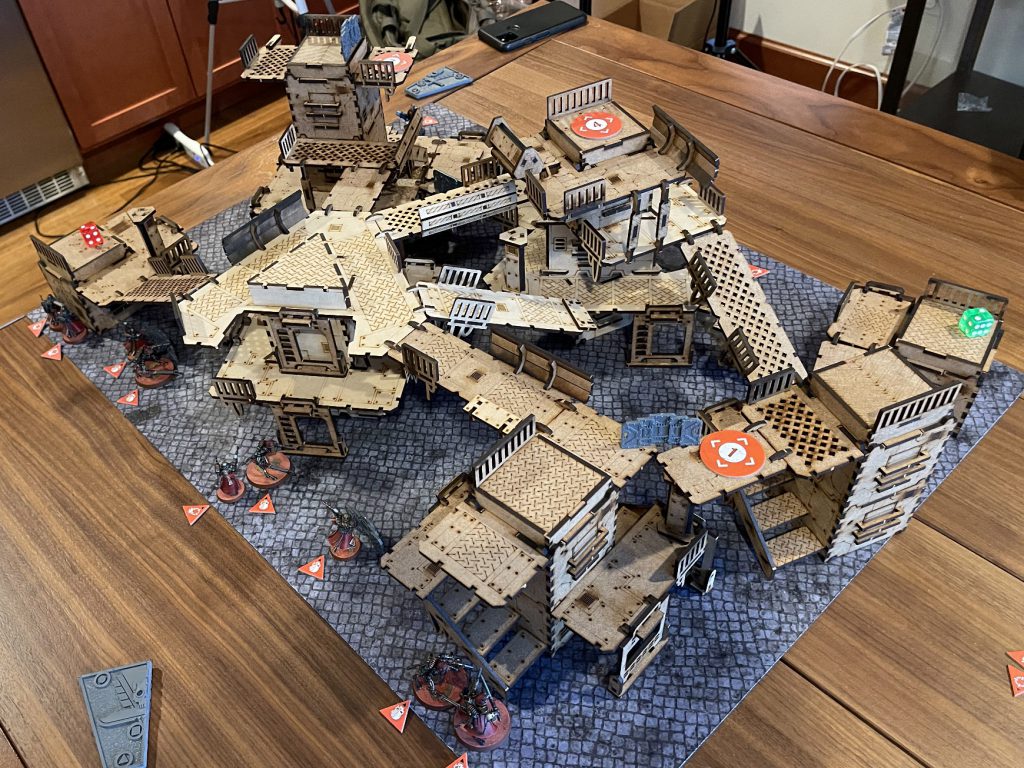
I’ll spare you the details, but the game was neck and neck to the bitter end. After the smoke cleared, the Imperial Guard stood victorious by a single VP. This was an extremely dense board on which to play a game of Kill Team, and it was an absolute blast. The multi-leveled battlefield worked great with Kill Team’s rules on vantage points, scaling, dropping, and traversing gaps.
However, it’s not all sunshine and roses (grimdark and proses?). While playing this game, I came across a number of issues with this terrain that I would be remiss to not point out.
The Fiddly Bits
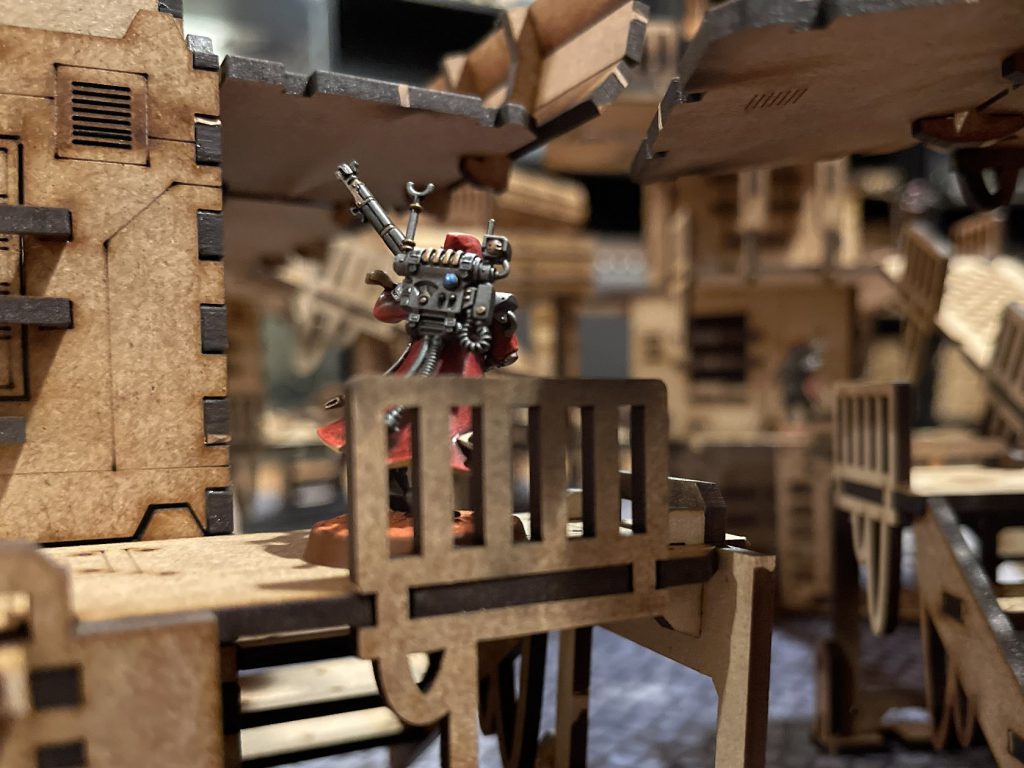
As mentioned earlier, these kits can be broken down into two categories: buildings and fiddly bits. The building are solid, durable, and stack on top of each other kind of like upside down square bowls. They’re great. However, the fiddly bits are, well, fiddly.
The railing in this picture fits well into those grooves, but not all do. Some are way too tight, and others too loose. Some of the stairs will fall off if you just nudge them, and some of the guardrails would fall off if a model leaned on them. I was constantly worried that a slip of the wrist would cause multiple levels of bridges to come tumbling down.
If I glued all these extra pieces into place, then these fiddly bits would become as durable as the buildings. However, the more pieces you glue, the less customizable they are on a per-game basis. Additionally, the more parts you permanently glue together, the larger the storage footprint they will take up. I’d like to pretend I have infinite terrain storage, but real life bucks its ugly head and reminds me “no, you can only store so much terrain, and this will take up a good amount of room”.
When thinking on how to make the battlefield more durable, I had an idea on how to improve it: paint the terrain. Maybe a little bit of primer and paint will give the terrain some grip. And so,
Let’s Paint Some MDF
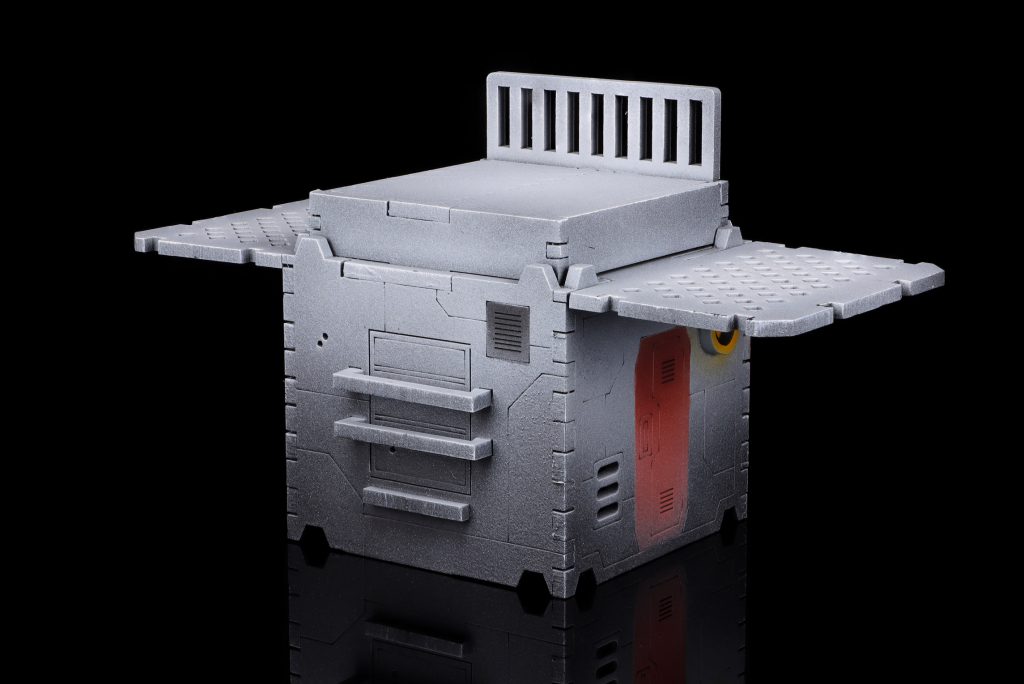
A quick prime with some rattlecan black enamel primer, a zenithal with a dark grey and another with light grey, then a drybrush and painting up some details leaves us with this. A very minimal amount of effort, with a surprisingly good looking result.
Plus the extra grip from the primer/paint seems to make the fiddly bits hold on a bit better. It’s not perfect, but it’s certainly an improvement. With how the fiddly bits slide in horizontally, you’d have to redesign the connector to make it fit more securely. I do wish it had a sort of vertical latching system. But for the price and ease of assembly, I can’t complain.
So Where Does That Leave Us?
TTCombat’s terrain is great. No question about it. This terrain was easy and fun to put together. When I’m hobbying, I enjoy mixing things up, so it was a blast to take a break from the plastic model grind to work on some MDF terrain. Getting to use it in a game of Kill Team that was tactical and engaging was only a bonus.
However, the relative fragility of the battlefield made me a little concerned. While it looked great, an accidental bump could have left the battlefield falling apart. Getting primer and paint on the terrain seems to resolve some of these issues by giving the MDF a bit more grip, but it was nonetheless an issue to consider.
Another point to consider is that this terrain is among the most inexpensive MDF terrain you can get, and its quality-per-dollar ratio is on another level. It would be nice to have something a little higher quality with the vertical latching mentioned previously to hold things together, but for the price, I would be hard pressed to build a battlefield as complicated and intricate, as detailed and customizable, with terrain from anywhere else. Plus building MDF terrain is just plain fun, and you get a lot of terrain for your dollar.
So would I buy terrain from TTCombat? Yes, unquestionably. I purchased terrain from them before this review, and I even placed an order for more stuff from them halfway through writing this review. It’s as inexpensive as it is good-looking, and it’s as fun to build as you’d think. Good stuff, all around.
Have any questions or feedback? Drop us a note in the comments below or email us at contact@goonhammer.com.


